
The first brisket I ever smoked came out like leather. Fourteen hours of babysitting temperatures, adjusting vents, adding wood chunks and the result tasted like charcoal-flavored shoe sole. My neighbor, who’d been smoking meat in North Carolina for forty years, took one bite and said: “Your rub was fine. You just put it on two hours before cooking.”
That’s when I learned that spice rubs aren’t seasoning they’re chemistry experiments that need time to work. Salt has to penetrate. Sugar needs to dissolve slightly into surface moisture. Spices require time to hydrate and cling. Slapping a rub on meat five minutes before it hits heat is like trying to marinate something by thinking about it really hard.
Over the past decade of smoking, grilling, and roasting everything from prime rib to eggplant, I’ve figured out what actually makes rubs work. It’s not exotic ingredients or secret ratios. It’s understanding what happens when salt, sugar, and spices meet protein under heat, and giving those reactions enough time to happen.
What Actually Happens When Rub Meets Heat
Most people think a spice rub just adds flavor. That’s like saying yeast just makes bread fluffy—technically true but missing the entire process.
Here’s what’s really happening:
Salt moves inward. Through osmosis, salt penetrates muscle tissue, breaking down proteins slightly while actually helping the meat retain more moisture during cooking. This is why a properly salted brisket tastes seasoned throughout, not just on the surface. It needs 4-24 hours depending on the cut’s thickness.
Sugar transforms completely. When sugar hits 310-350°F, it stops being sugar and becomes hundreds of new compounds through caramelization. This creates the mahogany bark on good BBQ—that’s not burnt sugar, it’s chemically transformed sugar. Too much sugar burns. Too little means no bark forms. The ratio matters more than most home cooks realize.
Spices release volatile compounds. Paprika contains capsanthin and dozens of aromatic molecules locked inside until heat releases them. Garlic powder transforms completely around 250°F through the Maillard reaction. Black pepper develops deeper, less harsh notes under sustained heat. A rub that smells okay raw can smell incredible after eight hours in a smoker.
Fat acts as flavor solvent. Any oil in the rub, plus the meat’s surface fat, dissolves fat-soluble compounds and redistributes them. This is why fatty cuts like pork shoulder develop more intense, even seasoning than lean cuts like chicken breast.
Understanding this changed how I cook everything. I stopped thinking about rubs as “seasoning” and started thinking about them as the foundation that enables better chemical reactions during cooking.
Carolina BBQ Gets Rubs Right
I spent a week in eastern North Carolina learning from a pitmaster who’s been working whole hogs since 1973. He doesn’t measure anything just goes by feel and decades of muscle memory. But watching him work, I noticed something: his rubs are simpler than mine used to be, but more carefully balanced.
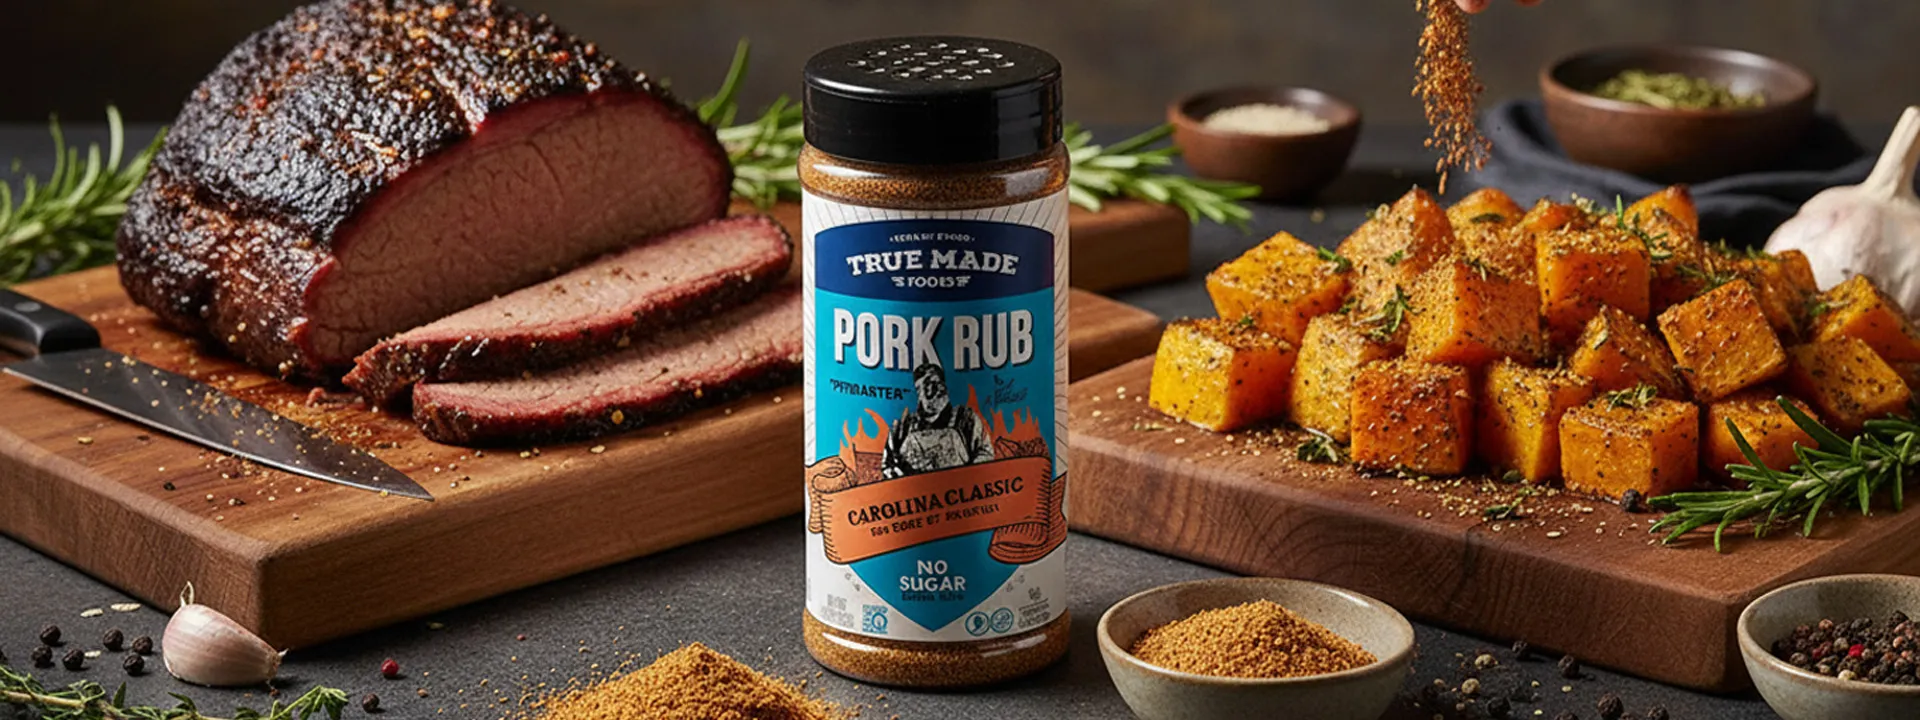
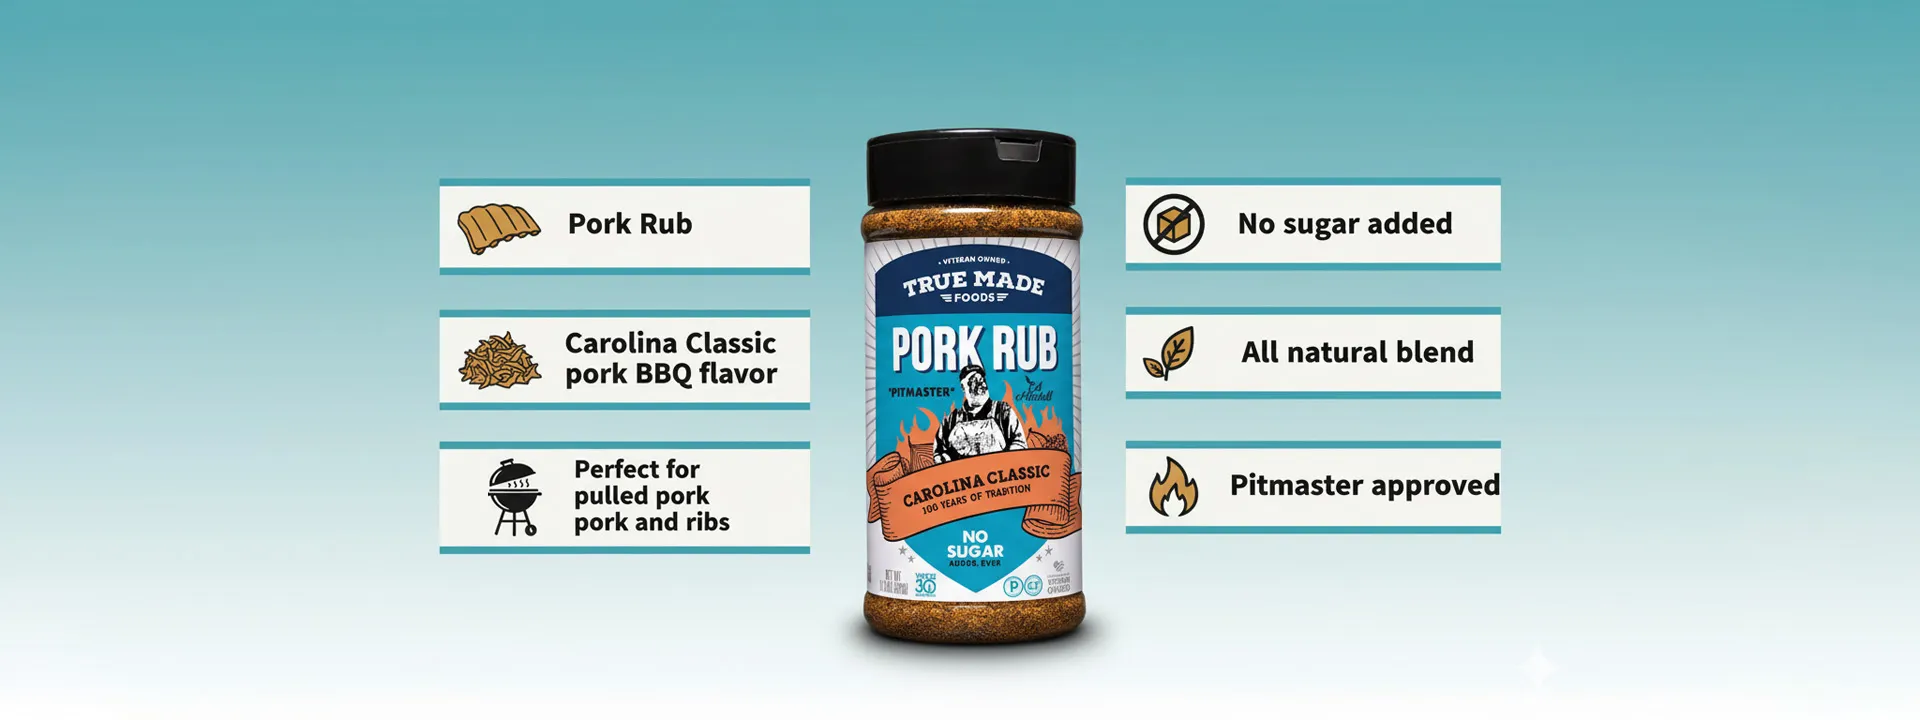
True Made Foods Carolina BBQ Pork Rub reminds me of his approach. When I first tested it on a pork shoulder, what stood out wasn’t complexity it was balance. The sugar content sits in that narrow window where you get caramelization without burning, even during 12-hour cooks.
The paprika base does more work than you’d expect. Paprika isn’t just color it contains compounds that develop under prolonged heat into flavors that straight cayenne or chili powder can’t match. When smoke meets paprika over hours, you get layers that taste earned, not sprinkled on.
But here’s what made me keep using it: this rub works beyond pork. I’ve used it successfully on chicken thighs, turkey legs, salmon, and (surprisingly) halved butternut squash. The balanced sugar-to-salt ratio and moderate spice level mean it enhances rather than dominates.
From Brisket to Butternut: Technique Matters More Than the Protein
The best rubs aren’t single-use. They work across proteins and vegetables because the underlying chemistry—caramelization, Maillard reactions, seasoning penetrationstays the same.
Brisket: The 14-Hour Test
Brisket exposes every mistake. Too little salt and the interior tastes bland. Too much sugar and you get bitter char instead of bark. Wrong spice ratio and fourteen hours of work tastes like burnt disappointment.
For brisket, I apply a heavy coating of rub (what Texas pitmasters call “a heavy blanket”) at least twelve hours ahead, ideally 24. The salt needs that time to penetrate deep into the dense muscle. Pat the brisket completely dry before rubbing—surface moisture dilutes everything and prevents proper adhesion.
Work the rub into every crevice, paying extra attention to the point (fatty end) which needs more seasoning than the flat. Don’t be shy—much of this will form the bark, and bark is what makes brisket brisket.
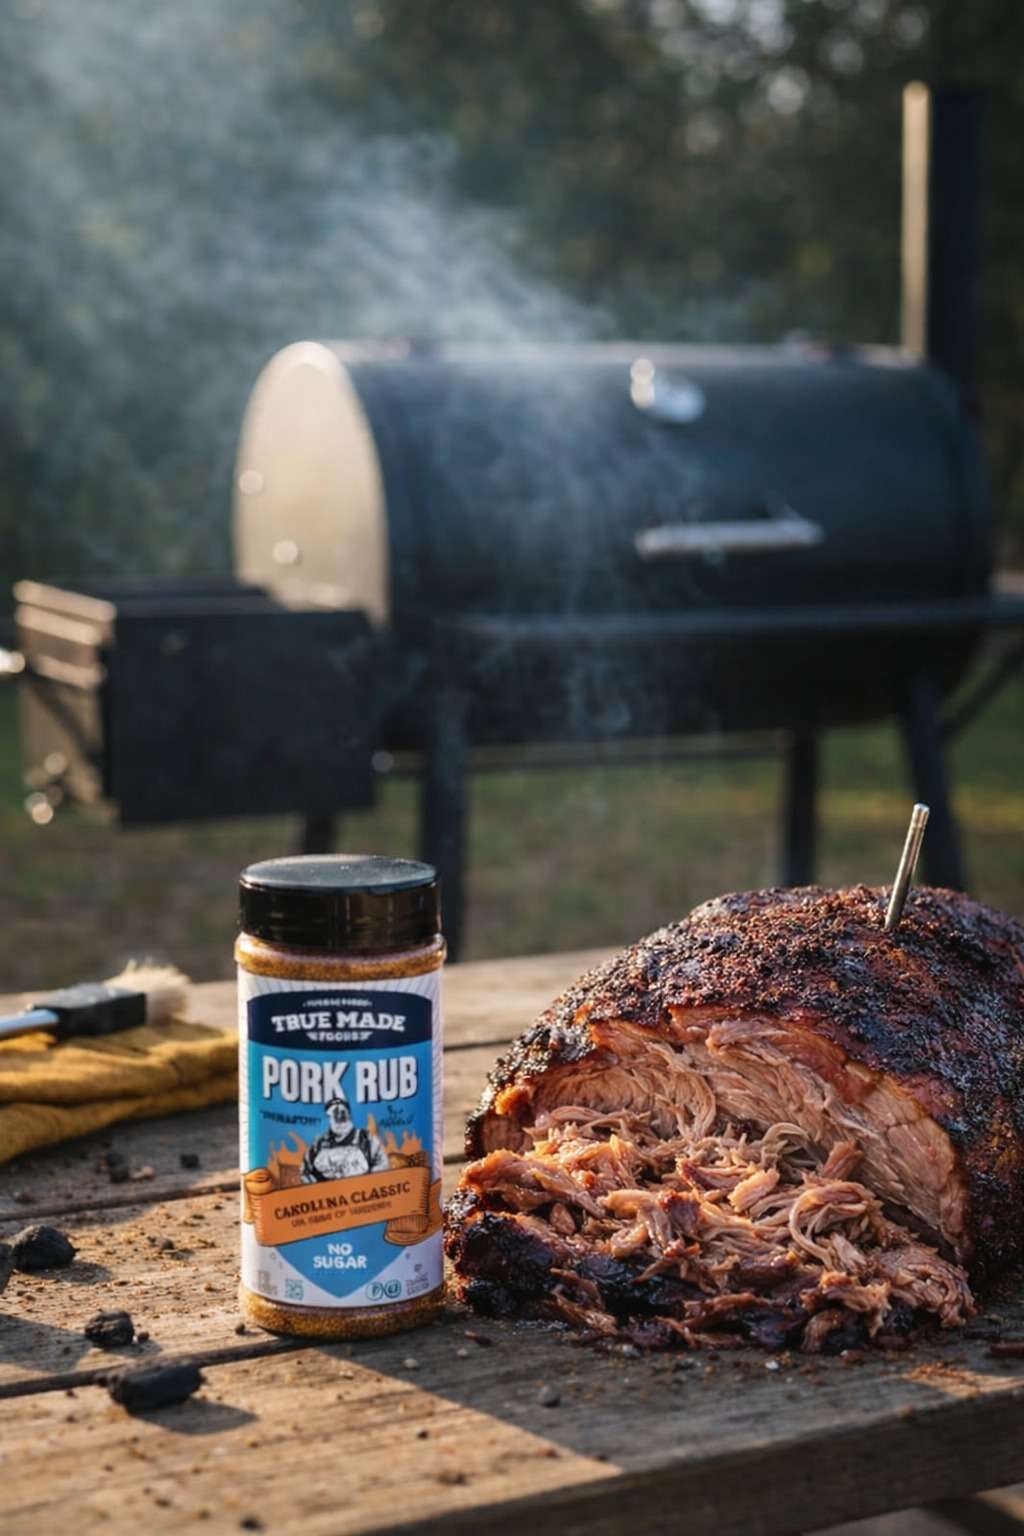
Pork Shoulder: Fat Is Your Friend
Pork shoulder has enough intramuscular fat to self-baste, meaning your rub stays put better than on lean cuts. This is where Carolina-style rubs show their breeding—they’re formulated for pork’s fat content and typical cooking times.
I learned from that North Carolina pitmaster: apply your rub 12-24 hours ahead, then don’t flip the shoulder during cooking. The rubbed side develops bark while the bottom stays moist from rendered fat. When you pull the meat, you’re mixing crusty exterior with tender interior—that texture contrast is half the experience.
One mistake I made early: trying to apply rub to wet pork. The moisture turns the rub into a paste that slides off. Always pat dry, always.
Chicken: The Quick-Cook Challenge
Chicken threw me for a while because the rules change. Shorter cooking time means less Maillard development and faster sugar burning.
For chicken, apply poultry-specific rubs or versatile blends 2-4 hours ahead, not overnight. Too much salt penetration makes poultry taste cured rather than seasoned. Use slightly less rub than you would on pork or beef you’re enhancing, not building bark.
Cook at moderate temperature (350-375°F) to let the rub develop flavor without burning. For chicken thighs, which have more fat than breasts, you can go heavier with the rub. The fat protects against burning while helping spices bloom.
Vegetables: Where Technique Beats Tradition
This is where I get the most skeptical looks. “BBQ rub on vegetables?” Yes, and it’s not as weird as it sounds.
Vegetables contain natural sugars and starches that caramelize beautifully under high heat. A well-balanced rub enhances this instead of covering it up.
My best results:
Butternut squash: Cut into thick wedges, toss with oil and Carolina rub, roast at 425°F. The squash’s natural sugars plus the rub’s sugars create incredible caramelization. The paprika adds earthiness that complements sweetness without fighting it. This was the dish that made my vegetarian sister-in-law admit BBQ rubs aren’t just for meat.
Cauliflower steaks: Thick slices from the center, generously rubbed, roasted until charred edges form. The rub’s sugar caramelizes while cauliflower’s sulfur compounds mellow and sweeten. Finish with flaky sea salt.
Carrots: Small whole carrots, rubbed and roasted, develop candy-like exteriors while staying tender. Kids who “hate vegetables” will eat these.
Sweet potatoes: Similar sugar content to butternut squash. The rub adds complexity without covering the potato’s natural sweetness. I prefer this to marshmallow-topped casserole any day.
The key with vegetables: high heat (400-450°F), don’t crowd the pan, and use enough oil. Salt draws out moisture, which needs to evaporate for proper caramelization.
The Science You Actually Need to Know
You don’t need a chemistry degree, but understanding a few principles turns you from recipe-follower into someone who can adjust on the fly.
Maillard Reaction vs Caramelization
People confuse these constantly, and it matters because they require different conditions.
Maillard reaction requires amino acids (from proteins) and reducing sugars together, happens around 280-330°F, and creates savory, complex flavors the “cooked meat” smell and taste.
Caramelization is just sugar breaking down, happens at 310-350°F, and creates sweet, nutty, toasted notes the candy-like bark edges.
Good BBQ rubs enable both. The proteins in meat undergo Maillard with the rub’s amino acids. The rub’s sugars caramelize on the surface. Together, they create the complexity that makes BBQ taste like BBQ.
Temperature Windows Matter More Than Time
Different components activate at specific temperatures:
- 250°F: Maillard reactions begin slowly
- 310°F: Sugar starts caramelizing
- 350°F+: Burning risk increases significantly
Low-and-slow BBQ (225-250°F) develops Maillard slowly without rushing caramelization. High-heat roasting (400-450°F) creates aggressive caramelization quickly. Your rub needs to match your method sugar-heavy rubs burn fast at high heat, salt-forward rubs tolerate heat better.
This is why I burned that first brisket I used a high-sugar rub designed for 350°F on a 225°F smoker, then panicked and cranked the heat. The sugar burned before the Maillard reactions finished.
Fat Content Changes Everything
Lean proteins (chicken breast, pork tenderloin) benefit from oil-based applications or basting during cooking. They lack internal fat to redistribute flavors.
Fatty cuts (brisket, pork shoulder, ribeye) need minimal added fat. Their own fat melts and redistributes the rub while keeping surface temperature lower.
Vegetables always need added fat—they lack internal fat entirely. Coat them generously with oil before applying rub so spices have something to cling to and a medium for flavor distribution.
Building Your Own vs Buying Quality Blends
I make some rubs from scratch and buy others. It’s not about purity or authenticity it’s about results and convenience.
Making your own gives complete control over salt levels, sugar types, and spice heat. You can adjust for personal preference. Basic rubs need only 6-8 components: salt, sugar (brown or white), paprika, garlic powder, black pepper, onion powder, maybe cayenne and cumin.
Quality commercial blends offer consistency. Every batch tastes identical. The components are ground to uniform particle size, which matters for even distribution and consistent browning. And honestly, sourcing twelve different spices gets expensive when you’re only using a tablespoon of each.
Professional BBQ seasonings like True Made Foods products are formulated by people who’ve smoked thousands of pounds of meat. That experience shows in the balance enough salt to penetrate, enough sugar to caramelize without burning, enough spice to be interesting without overwhelming.
I keep both in my kitchen. For experimenting, I blend my own. For reliable results when cooking for others, I reach for proven blends.
Frequently Asked Questions
How far in advance should I apply a dry rub?
Depends entirely on what you’re cooking and what you want. For large, tough cuts like brisket or pork shoulder, apply 12-24 hours ahead minimum—the salt needs that time to penetrate and begin tenderizing. For chicken or pork chops, 2-4 hours is plenty; longer makes them taste cured. For quick-cooking items like shrimp or thin fish, apply just before cooking. Vegetables get rubbed right before cooking since they don’t benefit from salt penetration the way proteins do. I learned this the hard way by over-salting a chicken that sat overnight—it tasted like deli meat instead of roasted poultry.
Why does my rub sometimes taste bitter after cooking?
Almost always burned sugar or over-toasted spices. If your cooking temperature is too high or time too long, sugar burns instead of caramelizing—that’s where bitterness comes from. To fix: lower your temperature 25-50°F, apply a thinner rub layer, or switch to rubs with less sugar for high-heat cooking. Also check that your grill grates are clean—ash and old char taste bitter and contaminate new cooks. Some spices like cayenne and black pepper taste more bitter when burned, so high-heat methods need monitoring. I ruined a beautiful pork shoulder once by using a high-sugar rub at 275°F for 16 hours—looked gorgeous, tasted like burnt coffee.
Can I really use BBQ rubs on vegetables effectively?
Absolutely, and some of my favorite applications are vegetables. The key is understanding vegetables have natural sugars that caramelize under heat, and BBQ rubs enhance this. Use high heat (400-450°F), coat vegetables with oil first so the rub adheres properly, and don’t crowd your pan—air circulation is crucial. Root vegetables like carrots, sweet potatoes, and butternut squash work especially well because their starch content creates texture contrast. Cruciferous vegetables like cauliflower and Brussels sprouts benefit from the rub’s complexity offsetting their sulfur notes. Just avoid delicate vegetables that cook too quickly—the rub won’t have time to develop. My kids will eat Brussels sprouts rubbed with Carolina blend, but they won’t touch plain steamed ones.
What’s the actual difference between dry rubs and wet rubs?
Dry rubs are just spices and salt—they rely on the meat’s surface moisture or added oil to adhere. They create better bark and crust because there’s no excess liquid preventing caramelization. Wet rubs (or pastes) include oil, mustard, vinegar, or other liquids mixed with the spices. They adhere better to very lean meats and can include fresh ingredients like minced garlic or ginger. Wet rubs penetrate faster but don’t create as crispy a crust. For traditional low-and-slow BBQ, dry rubs are standard because bark formation is the goal. For quick grilling where you want fast seasoning penetration, wet rubs work better. I use dry rubs 80% of the time, but keep a mustard-based wet rub for quick-grilled chicken breasts.
How do I keep my rub from falling off during cooking?
Three factors control adhesion: surface moisture, how you apply it, and cooking method. First, always pat your protein completely dry before rubbing—excess water dilutes the rub and prevents sticking. Second, press the rub firmly into the surface instead of just sprinkling. For extra adhesion, apply a thin layer of oil or yellow mustard first (the vinegar in mustard cooks off, leaving just adhered spices). Third, avoid flipping or moving the protein unnecessarily during cooking—every flip risks scraping off the crust you’re building. If you’re grilling, resist pressing down with a spatula, which squeezes out juices and scrapes off rub. For long smokes, some rub loss is normal as moisture evaporates, but the crust that forms protects the layer beneath. My mistake early on: I kept opening the smoker to check and baste, which cooled everything down and made the rub gummy instead of crusty.
Stop Following Recipes, Start Understanding Chemistry
That pitmaster who taught me about advance rub application had a saying: “Sauce covers mistakes. Rub is the foundation you can’t hide.”
He was half-joking, but his point stands. A properly applied spice rub does more work than any other single element in BBQ or roasting. It seasons, it creates texture through chemical reactions, it enables flavor development that wouldn’t happen otherwise. When done right, sauce becomes optional rather than necessary.
This doesn’t require exotic ingredients. It requires understanding that salt needs time, sugar needs the right temperature range, and spices need heat to release their potential. It means applying rubs hours ahead for big cuts and minutes ahead for quick cooks. It means matching your rub’s sugar content to your cooking temperature.
Most importantly, it means using quality seasonings formulated by people who’ve done this thousands of times. You can make your own, and I encourage experimenting. But when it matters when you’re feeding people you want to impress reach for rubs with proven track records.
Start with something versatile. Learn how it behaves on pork, then try chicken, then push it to vegetables. Pay attention to how bark develops, where caramelization happens, which flavors emerge during long cooks versus short ones. Notice when things burn and adjust accordingly.
The art of the spice rub isn’t complicated. It’s patient. It’s paying attention to chemistry without overthinking it. It’s recognizing that what you build before heat gets involved determines everything that follows.
Season with intention. Give your rubs time to work. Trust the chemistry.
Your next brisket will thank you. So will your butternut squash.

")