
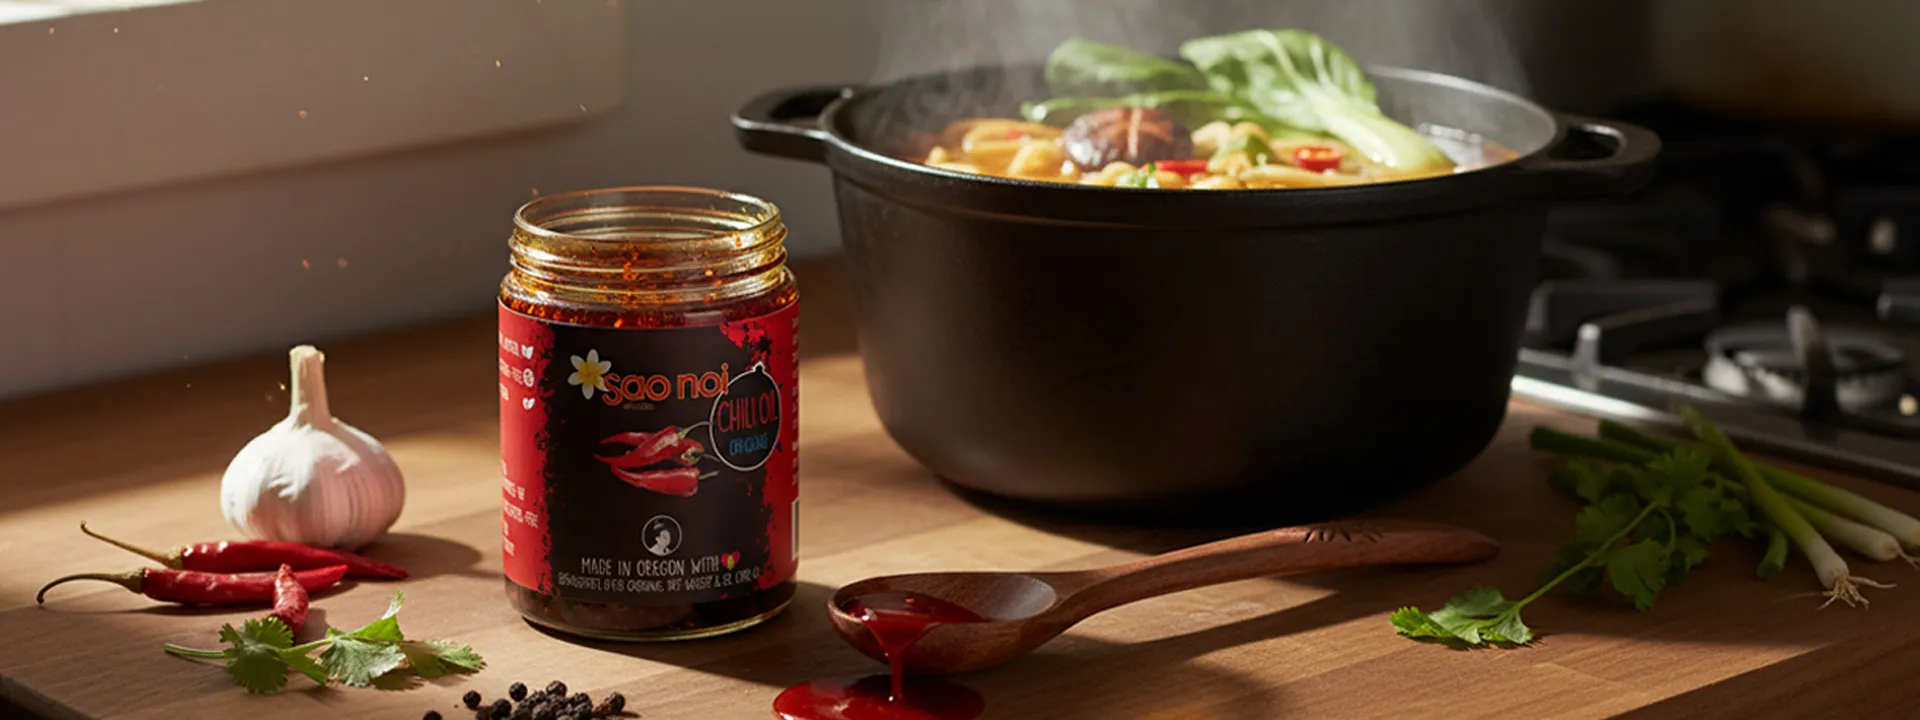
Chili oil recipes changed everything for me. Last November, I grabbed a jar of Sao Noi chili oil at a Portland farmers market because the vendor insisted I try it on scrambled eggs. That sounded insane—eggs don’t need chili oil. But the next morning I made breakfast anyway, spooned in a tablespoon, and the eggs came out better than any $12 dinner plate I’ve ever ordered. Crispy garlic bits. Slow-building heat. This umami depth I didn’t know eggs could have. I’ve made them that way every Saturday since.
The difference between ordinary food and restaurant-quality dishes isn’t always fancy techniques or expensive ingredients. Sometimes it’s just one ingredient that adds heat, crunch, and depth all at once. Whether you’re exploring artisan hot sauces or building your spice collection, the right condiment transforms simple meals into something memorable.
What Makes the Best Chili Oil for Recipes?
Not all chili oils deliver the same experience. The best versions bring layers of flavor beyond just heat. Sao Noi Original Chili Oil combines crispy garlic bits, caramelized onions, Thai chili peppers, and rice bran oil. It’s gluten-free, preservative-free, and sits at a 4/5 heat level spicy enough to be interesting without overwhelming your taste buds.
Those crunchy garlic and onion bits add a satisfying texture that makes simple dishes feel special. A jar lasts me about two weeks, and I use it almost daily. At $11, it’s cheaper than buying takeout once.
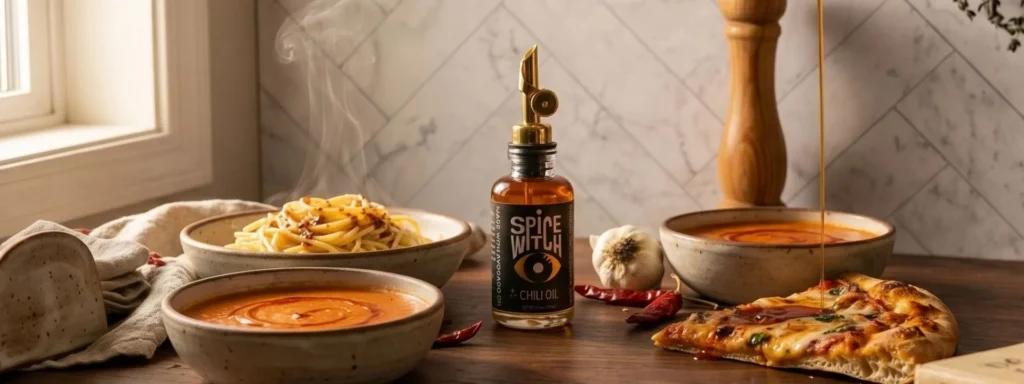
If you prefer extra garlic punch, try Hot Garlic Chili Crisp for a more intense flavor. For something mellower with North African spices, Signature Harissa offers a different kind of heat. Explore our complete collection of chili oils and hot sauces to find your perfect heat level.
Recipe 1: Spicy Scrambled Eggs
Ingredients:
- 3 eggs
- 2 tbsp milk
- 1 tbsp butter
- 1 tbsp Sao Noi chili oil
- ¼ tsp salt
- ⅛ tsp pepper
- 2 tbsp green onions (optional)
Instructions:
Crack your eggs into a bowl with the milk, salt, and pepper. Whisk for about 30 seconds until there are no streaks of white running through – you want it completely uniform. This matters more than you’d think. When the eggs hit the heat, those streaks become rubbery threads if you skip this step.
Set a non-stick skillet over medium-low heat and add the butter. Let it melt and foam, but pull it off the heat if it starts to brown. You’re looking for that gentle sizzle, not aggressive cooking. A quality nonstick fry pan makes this effortless – the eggs slide around without sticking, and cleanup takes seconds.
Pour in your eggs and resist the urge to stir immediately. Let them sit for maybe 10 seconds, then use a silicone spatula to gently push from the edges toward the center. You’ll see soft curds starting to form – big, pillow folds rather than small scrambled bits.
This takes 3-4 minutes, and the trick is pulling them off the heat when they still look slightly wet. They’ll finish cooking from their own residual heat. If they look fully set in the pan, you’ve gone too far and they’ll be dry by the time they hit the plate.
Now fold in the chili oil. You’ll smell it immediately – that toasted garlic hits before you even take a bite. The eggs should look creamy with visible bits of crispy garlic and onion scattered throughout. Garnish with green onions if you’re using them, and serve while they’re still warm and glossy.
Storage: Best eaten fresh. Refrigerated scrambled eggs become rubbery.
Breakfast at a café runs $10-12. This takes ten minutes and costs under $3.
Recipe 2: Aglio e Olio with Chili Oil
Ingredients:
- 1 lb spaghetti
- 4 tbsp Sao Noi chili oil
- 6 garlic cloves, sliced thin
- ½ cup pasta water
- ⅓ cup fresh parsley, chopped
- ⅓ cup Parmesan, grated
- Salt to taste
Instructions:
Get your pasta water boiling with enough salt that it tastes like seawater. Drop the spaghetti in and cook it until al dente – about 10 minutes, but check the package because every brand is different. You want it to have a slight bite when you test a strand.
While the pasta cooks, heat 2 tablespoons of the chili oil in a large skillet over medium heat. Slice your garlic thin – not paper-thin, but thin enough that it’ll cook evenly. Add it to the warm oil and watch it carefully. You’ll hear it start to sizzle, and the kitchen will smell incredible within seconds. Cook it until it’s fragrant and just turning blonde at the edges, about 2 minutes. The moment it starts to brown, pull the pan off the heat. Burnt garlic is bitter and ruins the whole dish.
Before you drain the pasta, scoop out about half a cup of that starchy pasta water. This is your secret weapon – it helps create a silky sauce that clings to every strand. Drain the spaghetti and add it straight to the skillet with the remaining 2 tablespoons of chili oil and a quarter cup of that pasta water.
Now toss everything vigorously for about 2 minutes. Use tongs or two forks and really work it. The starch from the water combines with the oil to create an emulsified sauce that coats each strand instead of pooling at the bottom of the bowl. If it looks dry, add more pasta water a splash at a time. A quality 10-inch cast iron skillet or copper pan holds heat beautifully and gives you that restaurant-style result.
Remove from heat, toss in the parsley and Parmesan, and give it one more quick mix. Serve immediately while the garlic bits are still crispy and the pasta is steaming.
Storage: Refrigerate in an airtight container for up to 2 days. Reheat on the stovetop with a splash of water or olive oil—the microwave makes it gummy.
This feeds four people for about what one restaurant pasta plate costs. Having the right cookware makes all the difference—a quality skillet ensures even heating and perfect results every time.
Recipe 3: Sheet Pan Chili Chicken
Ingredients:
- 4 chicken thighs (bone-in, skin-on)
- 1½ lbs baby potatoes, halved
- 2 cups broccoli florets
- 3 tbsp Sao Noi chili oil
- 1 lemon, quartered
- 4 garlic cloves, smashed
- Salt, pepper, and dried thyme to taste
Instructions:
Preheat your oven to 425°F and line a sheet pan with parchment paper. This temperature is hot enough to crisp the chicken skin without drying out the meat, and the parchment keeps cleanup simple.
Pat the chicken thighs dry with paper towels – this step matters more than most people think. Wet skin won’t crisp properly. Rub each thigh with about a tablespoon and a half of the chili oil, then season generously with salt, pepper, and dried thyme. You want the skin to glisten with oil. If you have quality dried thyme from a place like Village Batch, you’ll notice the difference in aroma and flavor intensity.
In a large mixing bowl, toss your halved potatoes and broccoli florets with the remaining oil and smashed garlic cloves. The garlic doesn’t need to be minced – just give each clove a good smack with the flat side of your knife. It’ll soften and sweeten as it roasts.
Arrange everything on your sheet pan with the chicken skin-side up on one side and the vegetables on the other. Don’t crowd them or they’ll steam instead of roast. An enamel sheet pan distributes heat evenly and prevents hot spots that can burn your vegetables.
Roast for 35-40 minutes. You’ll know it’s done when the chicken skin is deeply golden and crisp, almost mahogany in spots, and a thermometer reads 165°F when you stick it in the thickest part of the thigh. The potatoes should be fork-tender and the broccoli edges should be charred.
Let it rest for 5 minutes before serving. This keeps all those juices in the meat instead of running out onto your cutting board. Squeeze those roasted lemon quarters over everything right before you eat.
Storage: Refrigerate in airtight containers for up to 4 days. Reheat in the oven at 350°F for 12 minutes to maintain crispy skin.

")